Skip to content
Sam Braysher
Toggle mobile menu
Home
Blog
About
Shop
Press
Watch/Listen
Gigs
Gallery
Teaching
Contact
0
May 2, 2016
July 17, 2017
2
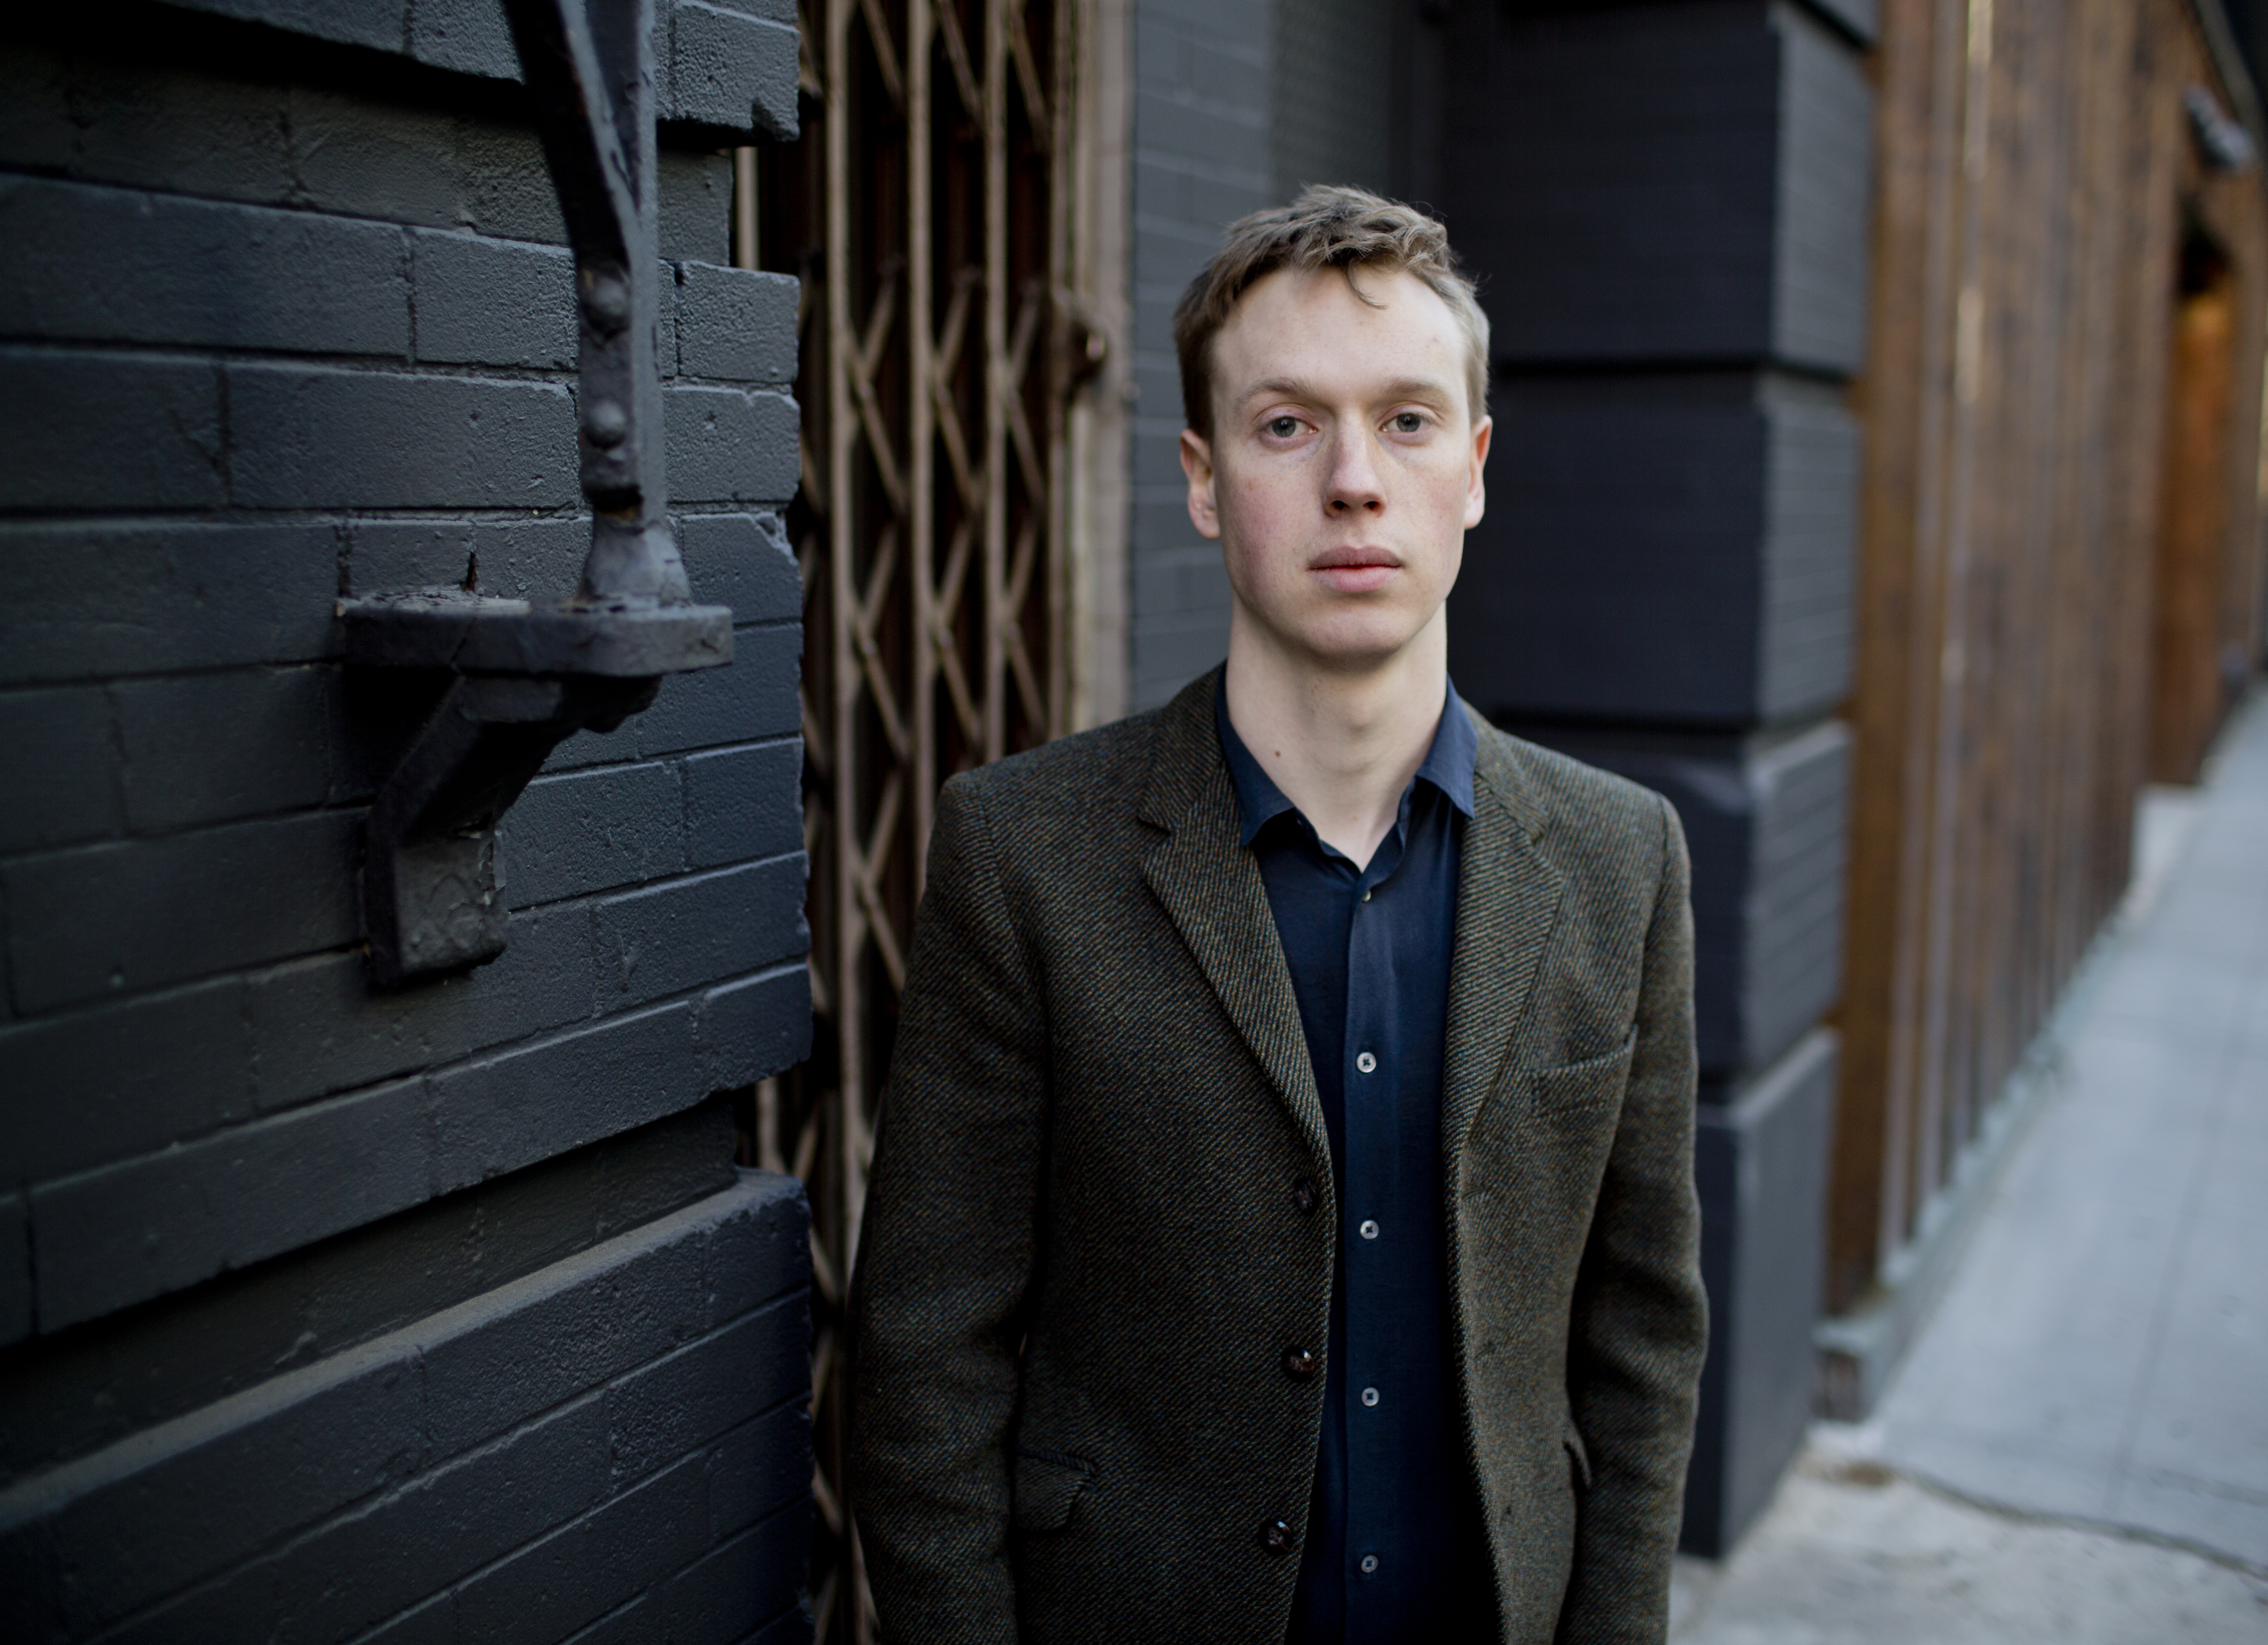
Photo credit:
John Rogers
Post navigation
2